USA3000J-6 Videoscope Explained: From Image Capture to 3D Surface Measurement
A modern aircraft engine inspection is not just about seeing inside. It is about producing evidence that supports a maintenance decision. That evidence usually includes clear images, repeatable documentation, and, increasingly, measurements that help quantify what the technician found. When an inspection moves from visual confirmation to decision-ready reporting, the videoscope becomes part camera, part measurement tool, and part documentation system.
The USA3000J-6, offered by USA Borescopes, is built around that reality. It is designed to support a complete inspection workflow, from initial image capture to 3D surface measurement, while still fitting the constraints that maintenance teams face in tight engine geometry. Understanding how those steps connect helps technicians, inspectors, and program managers get more consistent outcomes from every inspection.
Image Capture Fundamentals That Drive Better Decisions
Image capture is the foundation of the entire workflow. If the initial images are unclear, it becomes harder to verify a defect, harder to compare findings across time, and harder to justify a maintenance action. Many inspection issues that look like tool limitations are actually capture technique issues.
The most important capture fundamentals are simple, but they require discipline.
- Distance control
Too close and the image can lose context, focus may suffer, and glare becomes stronger. Too far and defect edges soften, making it difficult to interpret severity. - Lighting awareness
Reflection is a constant challenge on metallic engine surfaces. A small change in angle can remove glare and reveal the true defect boundary. - Framing for context and detail
A complete record usually needs two types of captures: a context image that shows location and surrounding geometry, and a detail image that focuses on the defect boundary. - Consistency across inspections
If your program includes trending, consistent capture habits matter. Similar angles and framing make comparisons more meaningful and reduce debate during reviews.
A good image should answer a reviewer’s first questions without additional explanation: where is this, what am I looking at, and how confident is the evidence.
Building a Measurement-Ready View
The jump from image capture to measurement is where many inspections lose quality. A view can look good to the human eye but still be a poor candidate for measurement if the boundary is not well defined or the tip is not stable.
Measurement-ready views tend to share a few characteristics: stable framing, clear defect edges, minimal glare, and a deliberate viewing angle. Those characteristics come from how the technician positions and controls the tip.
Stabilizing the tip and selecting the right angle
In engine interiors, the best angle is often not the most dramatic close-up. It is the angle that provides a clear view of the defect boundary and the surrounding surface transition. A small change in angle can make a shallow feature appear deeper or flatten a defect that is actually significant.
Tip stability matters because motion changes the relationship between the lens and the surface. Even subtle drift can alter edge definition, blur the boundary, or change lighting reflection.
A reliable habit is to pause and stabilize before capture. If the tip is drifting, reframe and stabilize again rather than trying to capture while moving. That single habit improves both evidence quality and measurement confidence.
Capturing clean evidence images for records
Even when measurement is the goal, documentation still needs strong stills. A good record typically includes:
- A context image showing component location
- A close view showing the defect boundary
- A confirmation capture from a second viewpoint when geometry is complex
Dual view capability is especially useful here because it supports confirmation without forcing a full repositioning route. The more consistent and complete the evidence package is, the easier the review process becomes.
How 3D Surface Measurement Fits Into the Workflow
3D surface measurement is valuable because it turns visual findings into quantifiable information. Instead of describing a feature as small or moderate, a technician can document measurable characteristics that support maintenance calls and trending.
In practice, maintenance teams commonly want to quantify:
- Length of an indication
- Depth of a defect or material loss
- Affected surface area
- Edge definition and boundaries, especially on irregular features
Measurement also improves communication. When findings move between shift teams, between maintenance and engineering, or between operators and oversight, numbers reduce ambiguity. They also help standardize decisions across technicians by making the evidence less subjective.
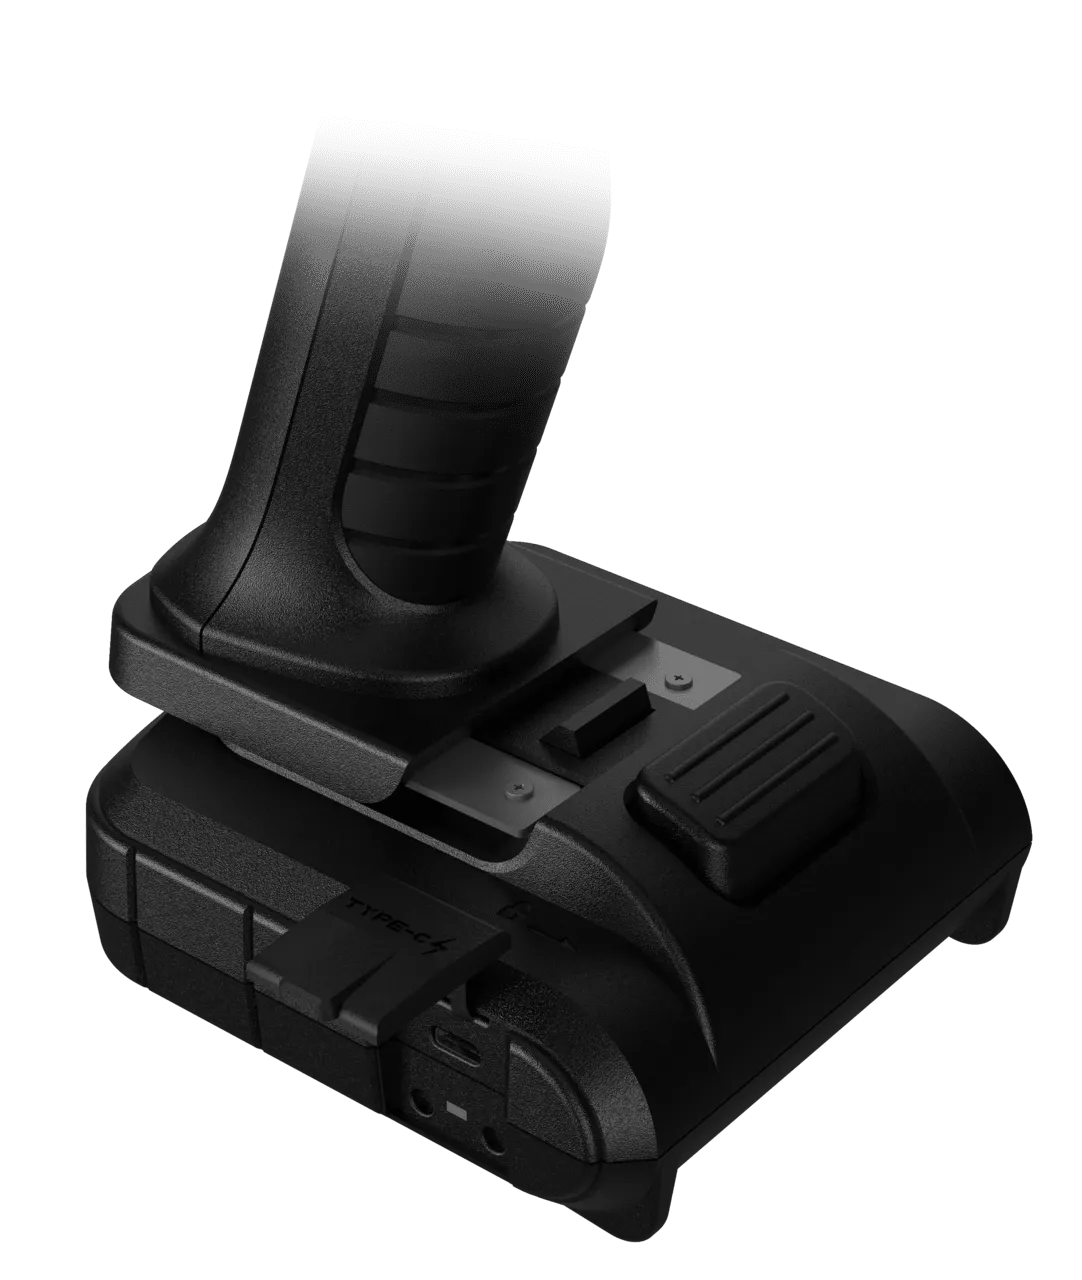
The USA3000J-6 integrates imaging and 3D measurement capability with dual view and joystick articulation to support this kind of decision-ready workflow. Readers looking for a detailed overview of how the system is configured for measurement-focused inspections can review the USA3000J-6 joystick articulation 6mm dual view 3D measuring videoscope page.
Documentation: From Captures to Reports
Inspection value increases when evidence is organized in a way that other people can interpret quickly. A well-structured report makes the difference between a fast decision and a long back-and-forth.
A practical documentation structure often includes:
- Component identification
Identify the engine section, stage, and feature. This helps reviewers locate the area in manuals and compare across inspections. - Capture sequence
Present context images first, then defect detail images, then confirmation views. - Notes that support interpretation
Short notes about orientation, access path, and lighting conditions can prevent confusion. This is especially helpful if the defect sits on a curved surface or in a tight passage where a single image may be misleading. - Measurement entries tied to the image
Measurements should be linked clearly to the specific capture used, so reviewers can see exactly where the data comes from.
Many programs benefit from standardizing this format. When every technician follows the same documentation pattern, reviews move faster and trending data becomes more reliable.
Practical Quality Checks Before You Finalize a Measurement
Before finalizing a measurement in an inspection record, it helps to run through a short quality checklist. These checks do not take long, but they can prevent rework.
- Is the defect boundary clearly visible
If the boundary is fuzzy due to glare or angle, re-capture. - Is the view stable
If the tip was moving during capture, retake the image. - Can the defect be confirmed from another angle
Use a second view to confirm continuity and edges. Dual view supports this without adding complexity. - Does the measurement align with what the images show
If the number feels inconsistent with the visual evidence, it is often a capture issue rather than a defect surprise. Reposition and confirm.
These habits help keep measurement work credible. When a measurement is challenged during review, the best defense is a clean capture set that shows stable, consistent evidence.
The strongest inspection programs treat image capture, measurement, and documentation as one connected process. Clear images establish what was found and where it is located. Measurement turns that finding into quantifiable evidence. Structured reporting ensures the evidence can be reviewed quickly and compared over time. When all three parts work together, maintenance decisions become faster, more consistent, and easier to defend.
USA Borescopes supports measurement-focused inspection workflows with a wide range of solutions and can help maintenance teams select equipment that fits real inspection routes and documentation requirements. To learn more about USA Borescopes or to discuss a specific inspection use case, readers can contact their team.
About The Author
The author is an independent aviation inspection technology specialist with extensive experience in borescope imaging, measurement workflows, and inspection reporting standards. They help maintenance teams improve consistency through practical capture techniques and decision-ready documentation. Their perspective is grounded in real-world inspection constraints, and they are not affiliated with any manufacturer or distributor.


![Quantum Computing for Everyone [2024] 14 Quantum Computing for Everyone](https://deeplores.com/wp-content/uploads/2023/08/Quantum-Computing-for-Everyone--768x432.png)

